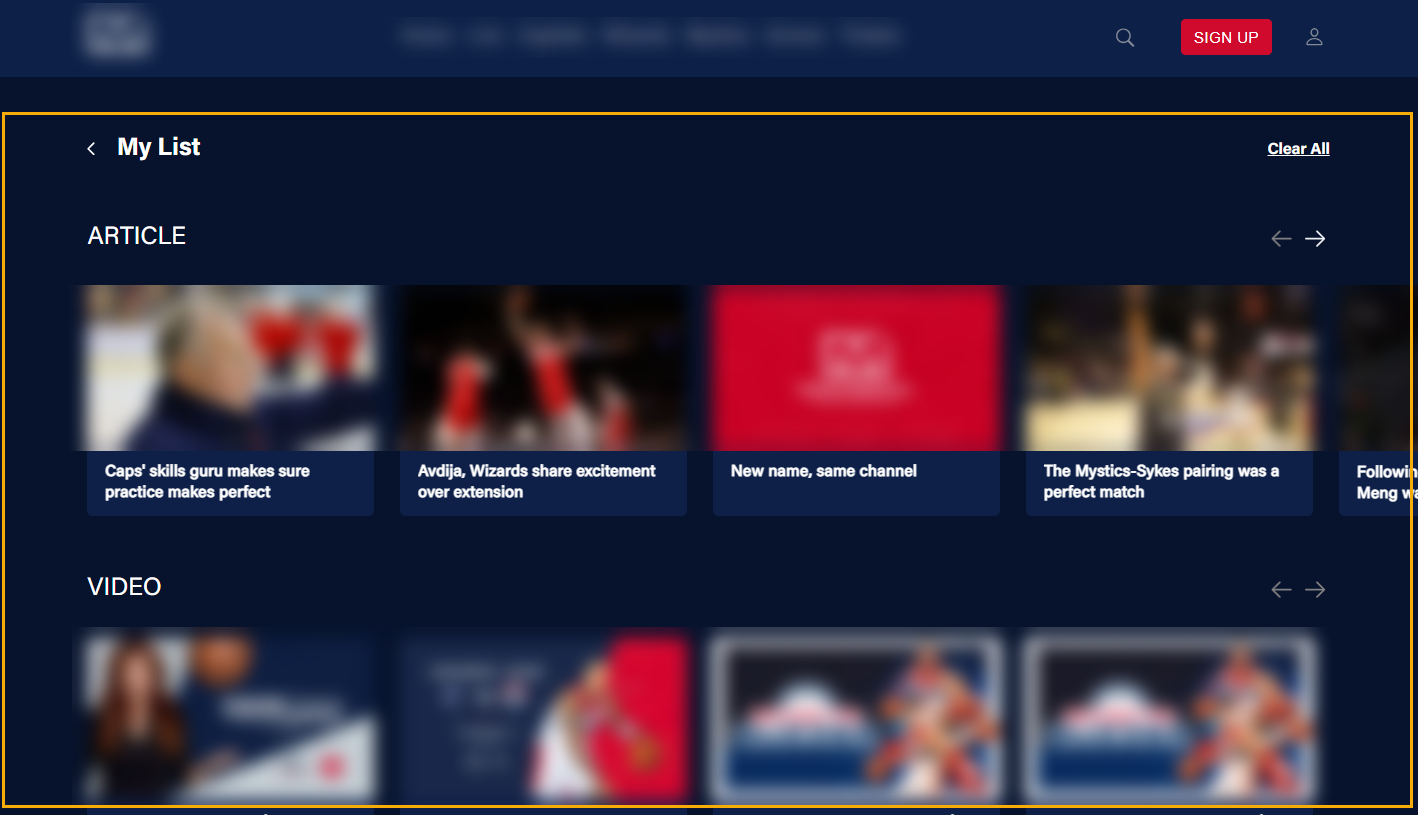
The Watchlist page is built using the VL WatchList module, which comes preconfigured with all the features necessary for a watchlist page.

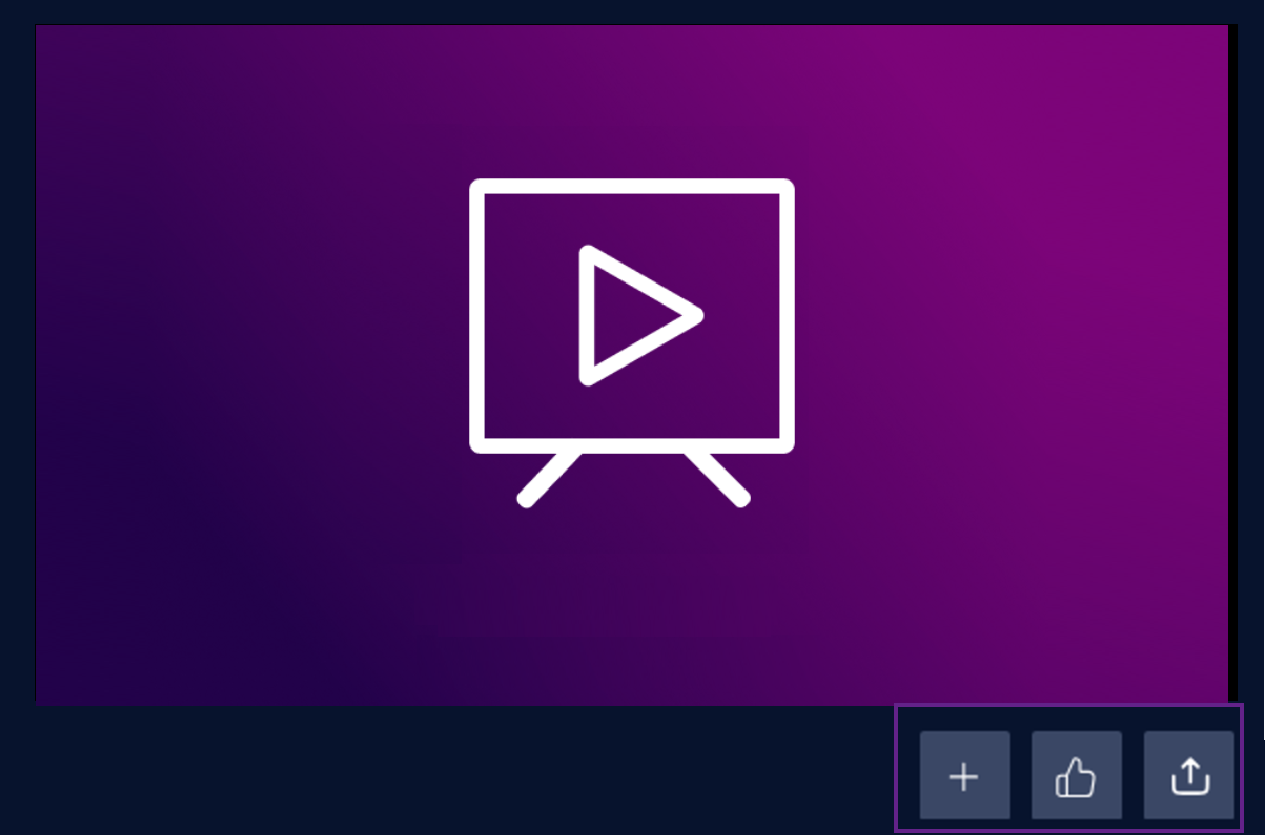
Users can click the plus icon below the player to add videos to their watchlist on the Watchlist page in Account Settings.
On clicking the Like icon, the video will be marked as liked which will be further used for recommendation purposes.
Clicking the share icon will open a menu where users can copy the video link or share it with its thumbnail on their socials on Facebook, X, or Email.
 Watchlist Page
To get started, you must first create a User-type modular page on which you will add this module.
Create a Watchlist User Page
From the Template Builder, create a new User type page. Provide the page name, for example, My Library or My Watchlist, and provide the permalink as "/library". Now, add the VL Watchlist Module to the page.
After configuring the settings, click Publish, the page will then go live on your apps and website.
The following Watchlist settings are configurable from the module:
| Screen element | Description |
|---|---|
| Supported Content(s) | By default, users can add any type of content to their watchlist. The module will automatically create a tray for each content type, and the trays will be displayed in alphabetical order, with the Article tray appearing before the Video tray. You can ignore this setting unless you want to manually change the order of the trays. For example, you may want to list the Video tray at the top, followed by trays for other content types, such as series and articles. |
| Thumbnail Placement | Center the thumbnail placement to the left, top, or right. Recommended setting: left. |
| Thumbnail Type | Select a thumbnail aspect ratio such as 16*9 and 3*4 for landscape and portrait cards respectively. |
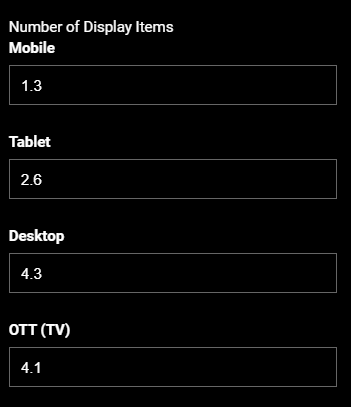
| Number of Display Items | Set the number of tiles to show in the initial page load as this screenshot illustrates. |
| Localisation | |
| Labels | Editorialize the default messages on this screen. |
| Font Settings | |
| Item 1, Item 2, Item 3, etc. | Set custom fonts per platform as necessary. Click on the +ADD button to open up an Item form for platform-wise configuration. |
| Select Platform(s) | Select the platforms to apply the custom font settings. |
| Tray Item Title | Choose the desired font from the Font Family Name drop-down. Font Size: Type the font size into the text box. Example, 24px. Font Weight: Select the font weight from the preset. Example: Bold. |
| Video Title | Choose the desired font from the Font Family Name drop-down. Font Size: Type the font size into the text box. Example, 18px. Font Weight: Select the font weight from the preset. Example: Medium. |
| Video Description | Choose the desired font from the Font Family Name drop-down. Font Size: Type the font size into the text box. Example, 14px. Font Weight: Select the font weight from the preset. Example: Regular. |
| Platform | Control the visibility of the tray on the platforms that you want. |