Introduction
This user guide provides detailed instructions on how to link URLs to specific languages in the header navigation using the AppCMS.
Scope
The guide covers the necessary steps to access header navigation, enter captions, select languages, and add URLs.
Prerequisites
Access to the Tools.
Appropriate user permissions to modify header navigation settings.
URLs for the language-specific pages you want to link.
Accessing AppCMS
Logging into AppCMS
Open your web browser and go to the Tools login page.
Enter the credentials and click Login.
You will be directed to the dashboard.
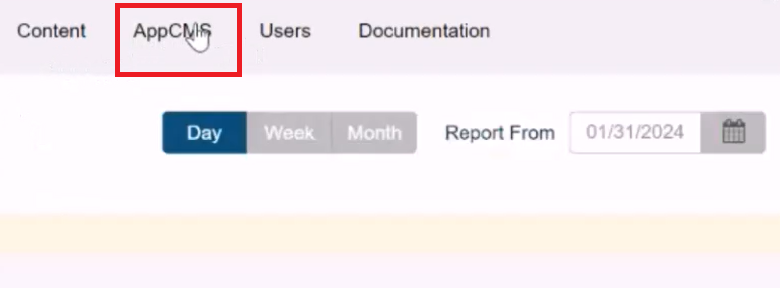
Select AppCMS option under the Tools menu.
AppCMS Navigation
Enable Localization
Click AppCMS, go to the Settings page, and click on Localization Languages.
Enable Localization:
Toggle the Enable Localization switch to activate language options for your content pages. When enabled, users will see content in their selected languages.
Default Language:
The default language for your content is set here. This is the primary language that will be displayed if a user’s preferred language is not available.
Default Language: English (set as the default in the example).
Language Settings:
You can add multiple languages for localization. Each language can be configured with the following details:
Language Name: The name of the language as it will appear to users (e.g., English, Hindi).
Language Code: The corresponding code for the language (e.g., en for English, hi for Hindi).
Localized Title: This is how the language will be displayed in the user interface.
Adding New Languages:
To add a new language, select the + ADD button and fill in the required fields:
Choose the language from the dropdown list.
Provide the corresponding language code.
Specify the localized title that users will see.
Examples:
English
Language Code:
enLocalized Title: English
Hindi
Language Code:
hiLocalized Title: Hindi
Navigating to Header Navigation
Click AppCMS in the main navigation menu.
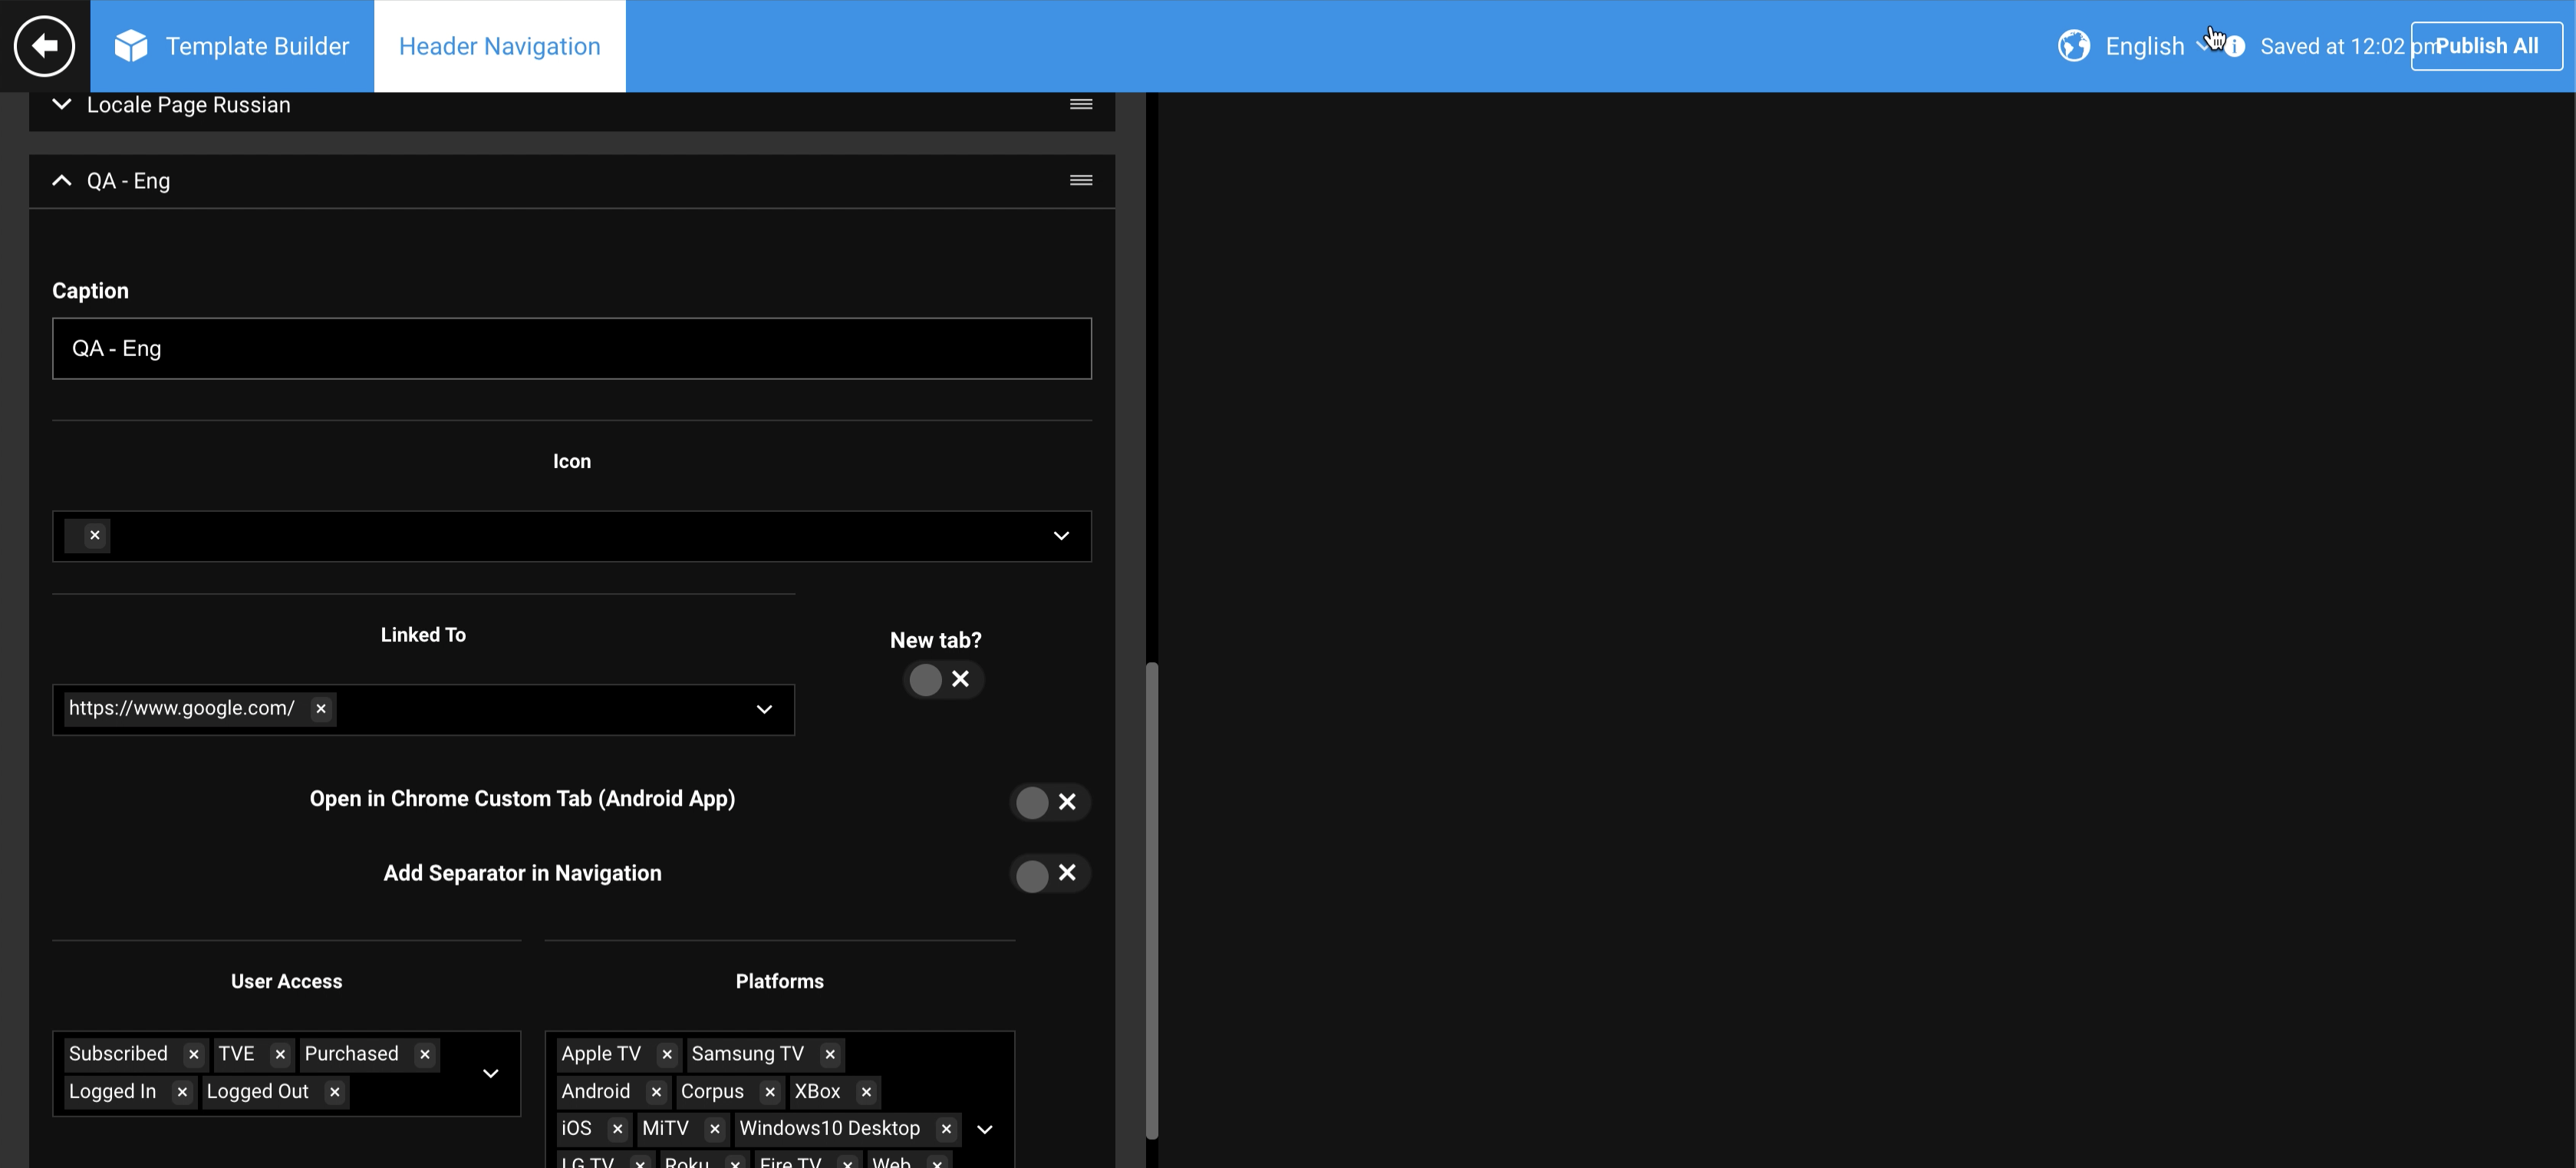
In the AppCMS interface, locate and click on Header Navigation. This will open the settings where you can manage navigation links and languages.
Header Navigation
Adding a URL to a Selected Language
Enter Caption
In the Header Navigation settings, find the field to enter a Caption.
Type the name you want to display for the link (e.g., "Home", "About Us").
Caption Field
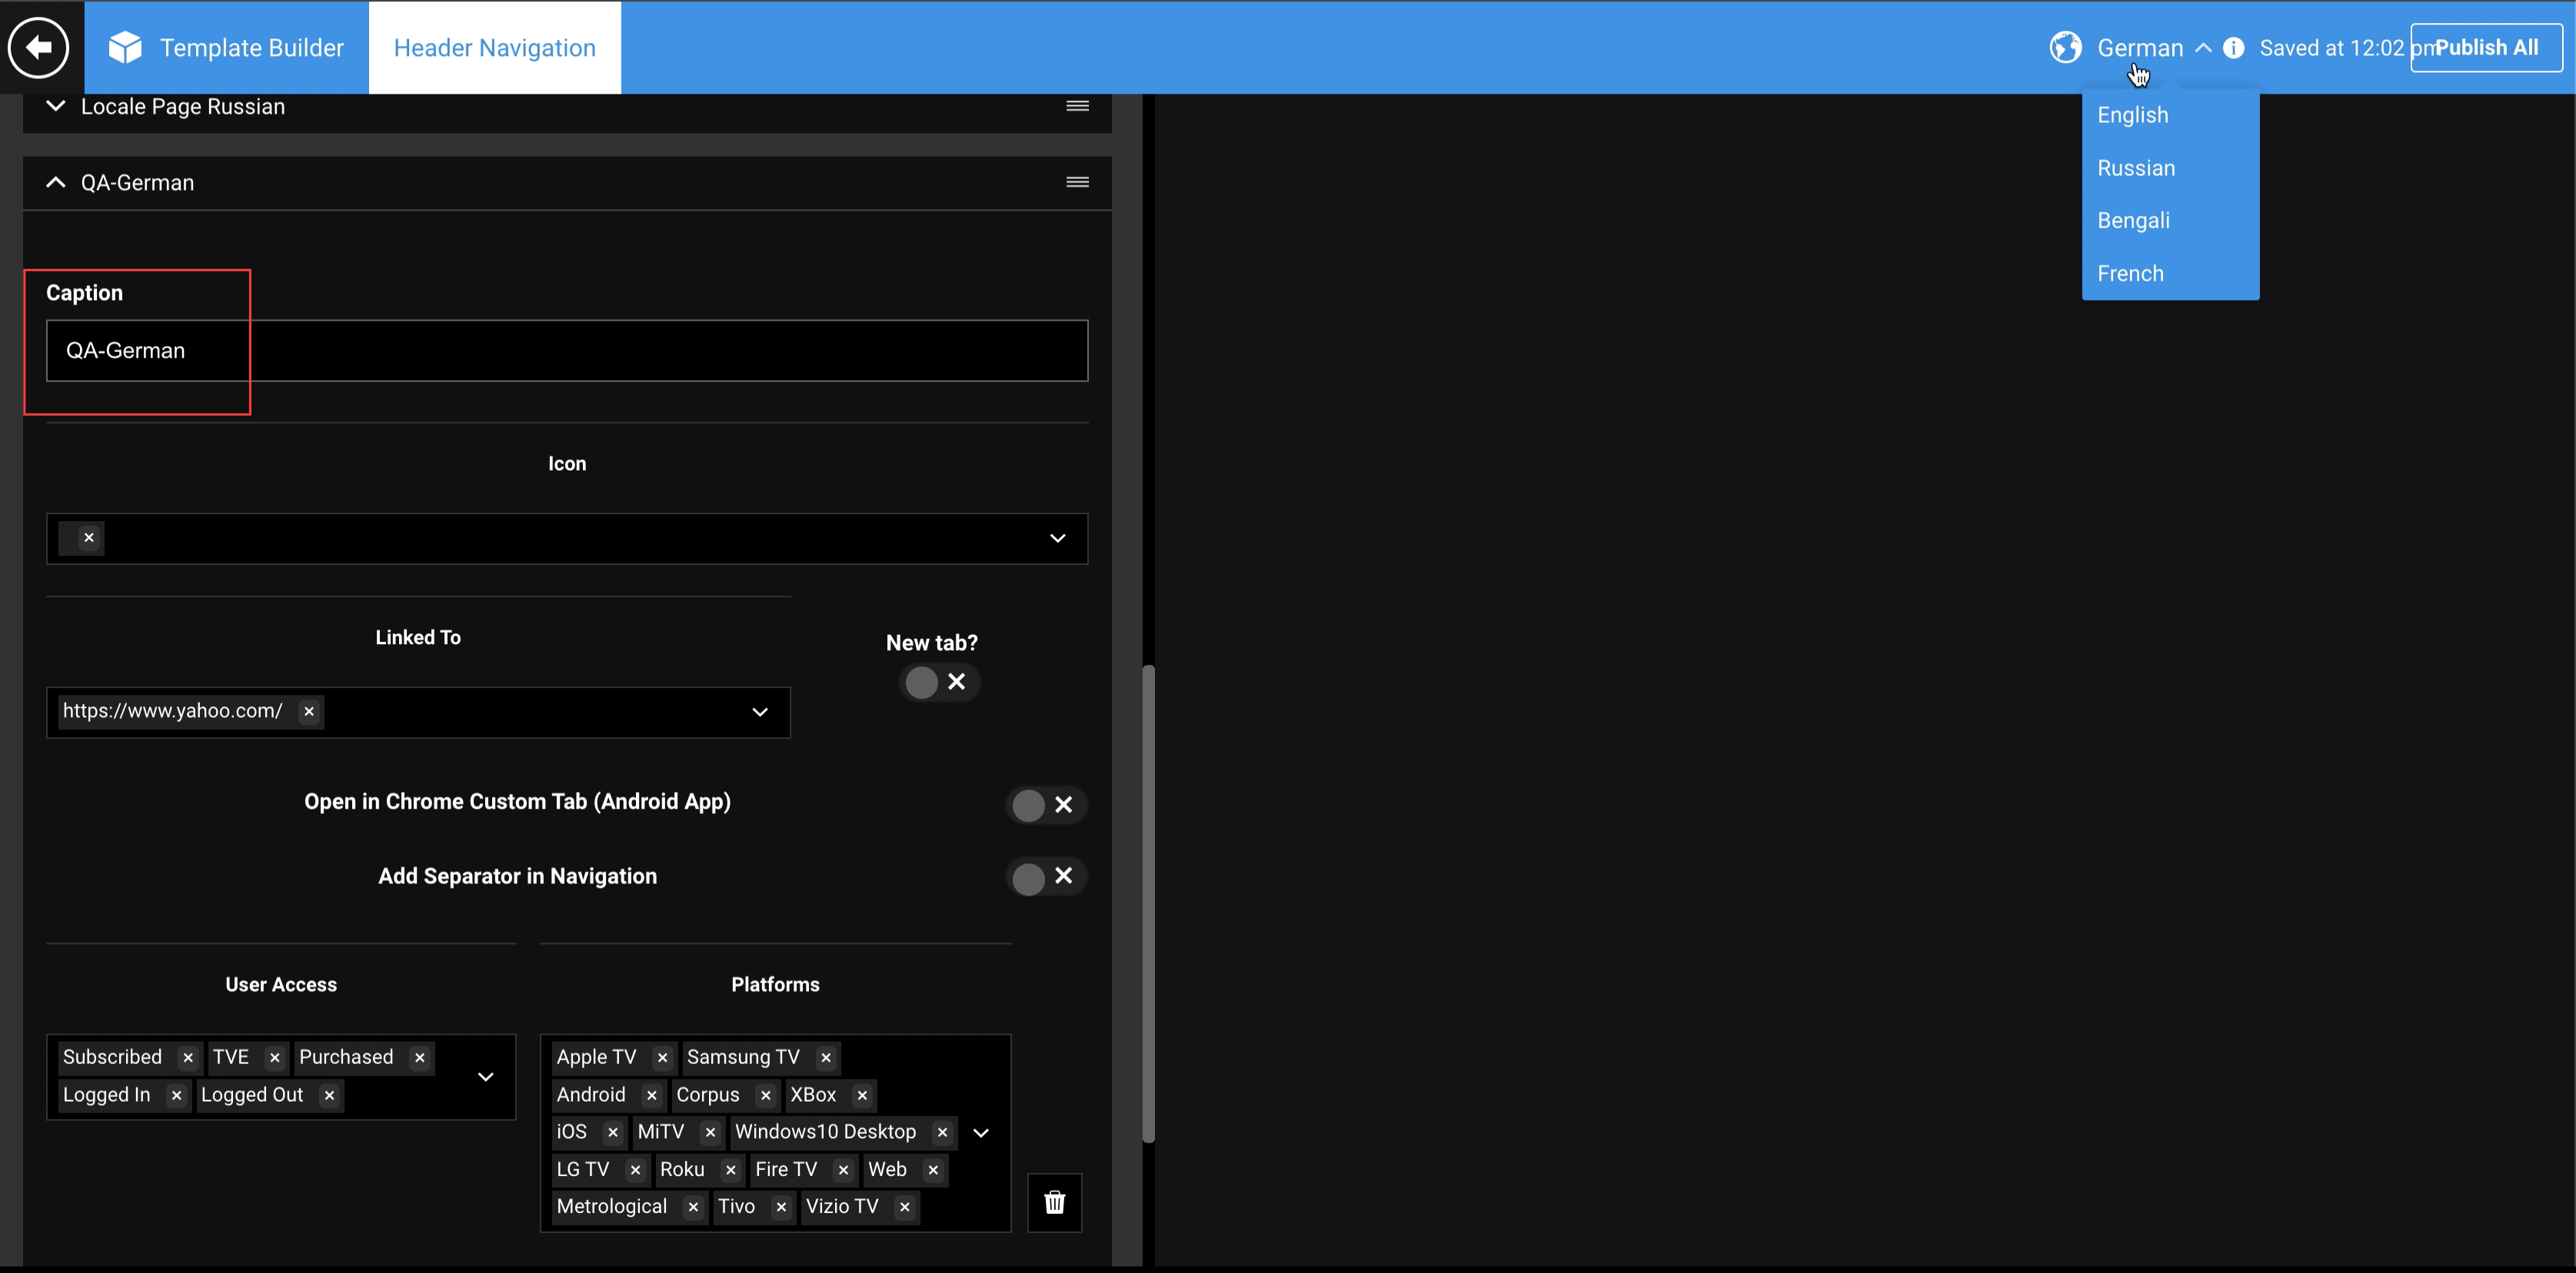
Select Language
In the language selection dropdown, choose the language for which you want to add a URL (e.g., English, Spanish).
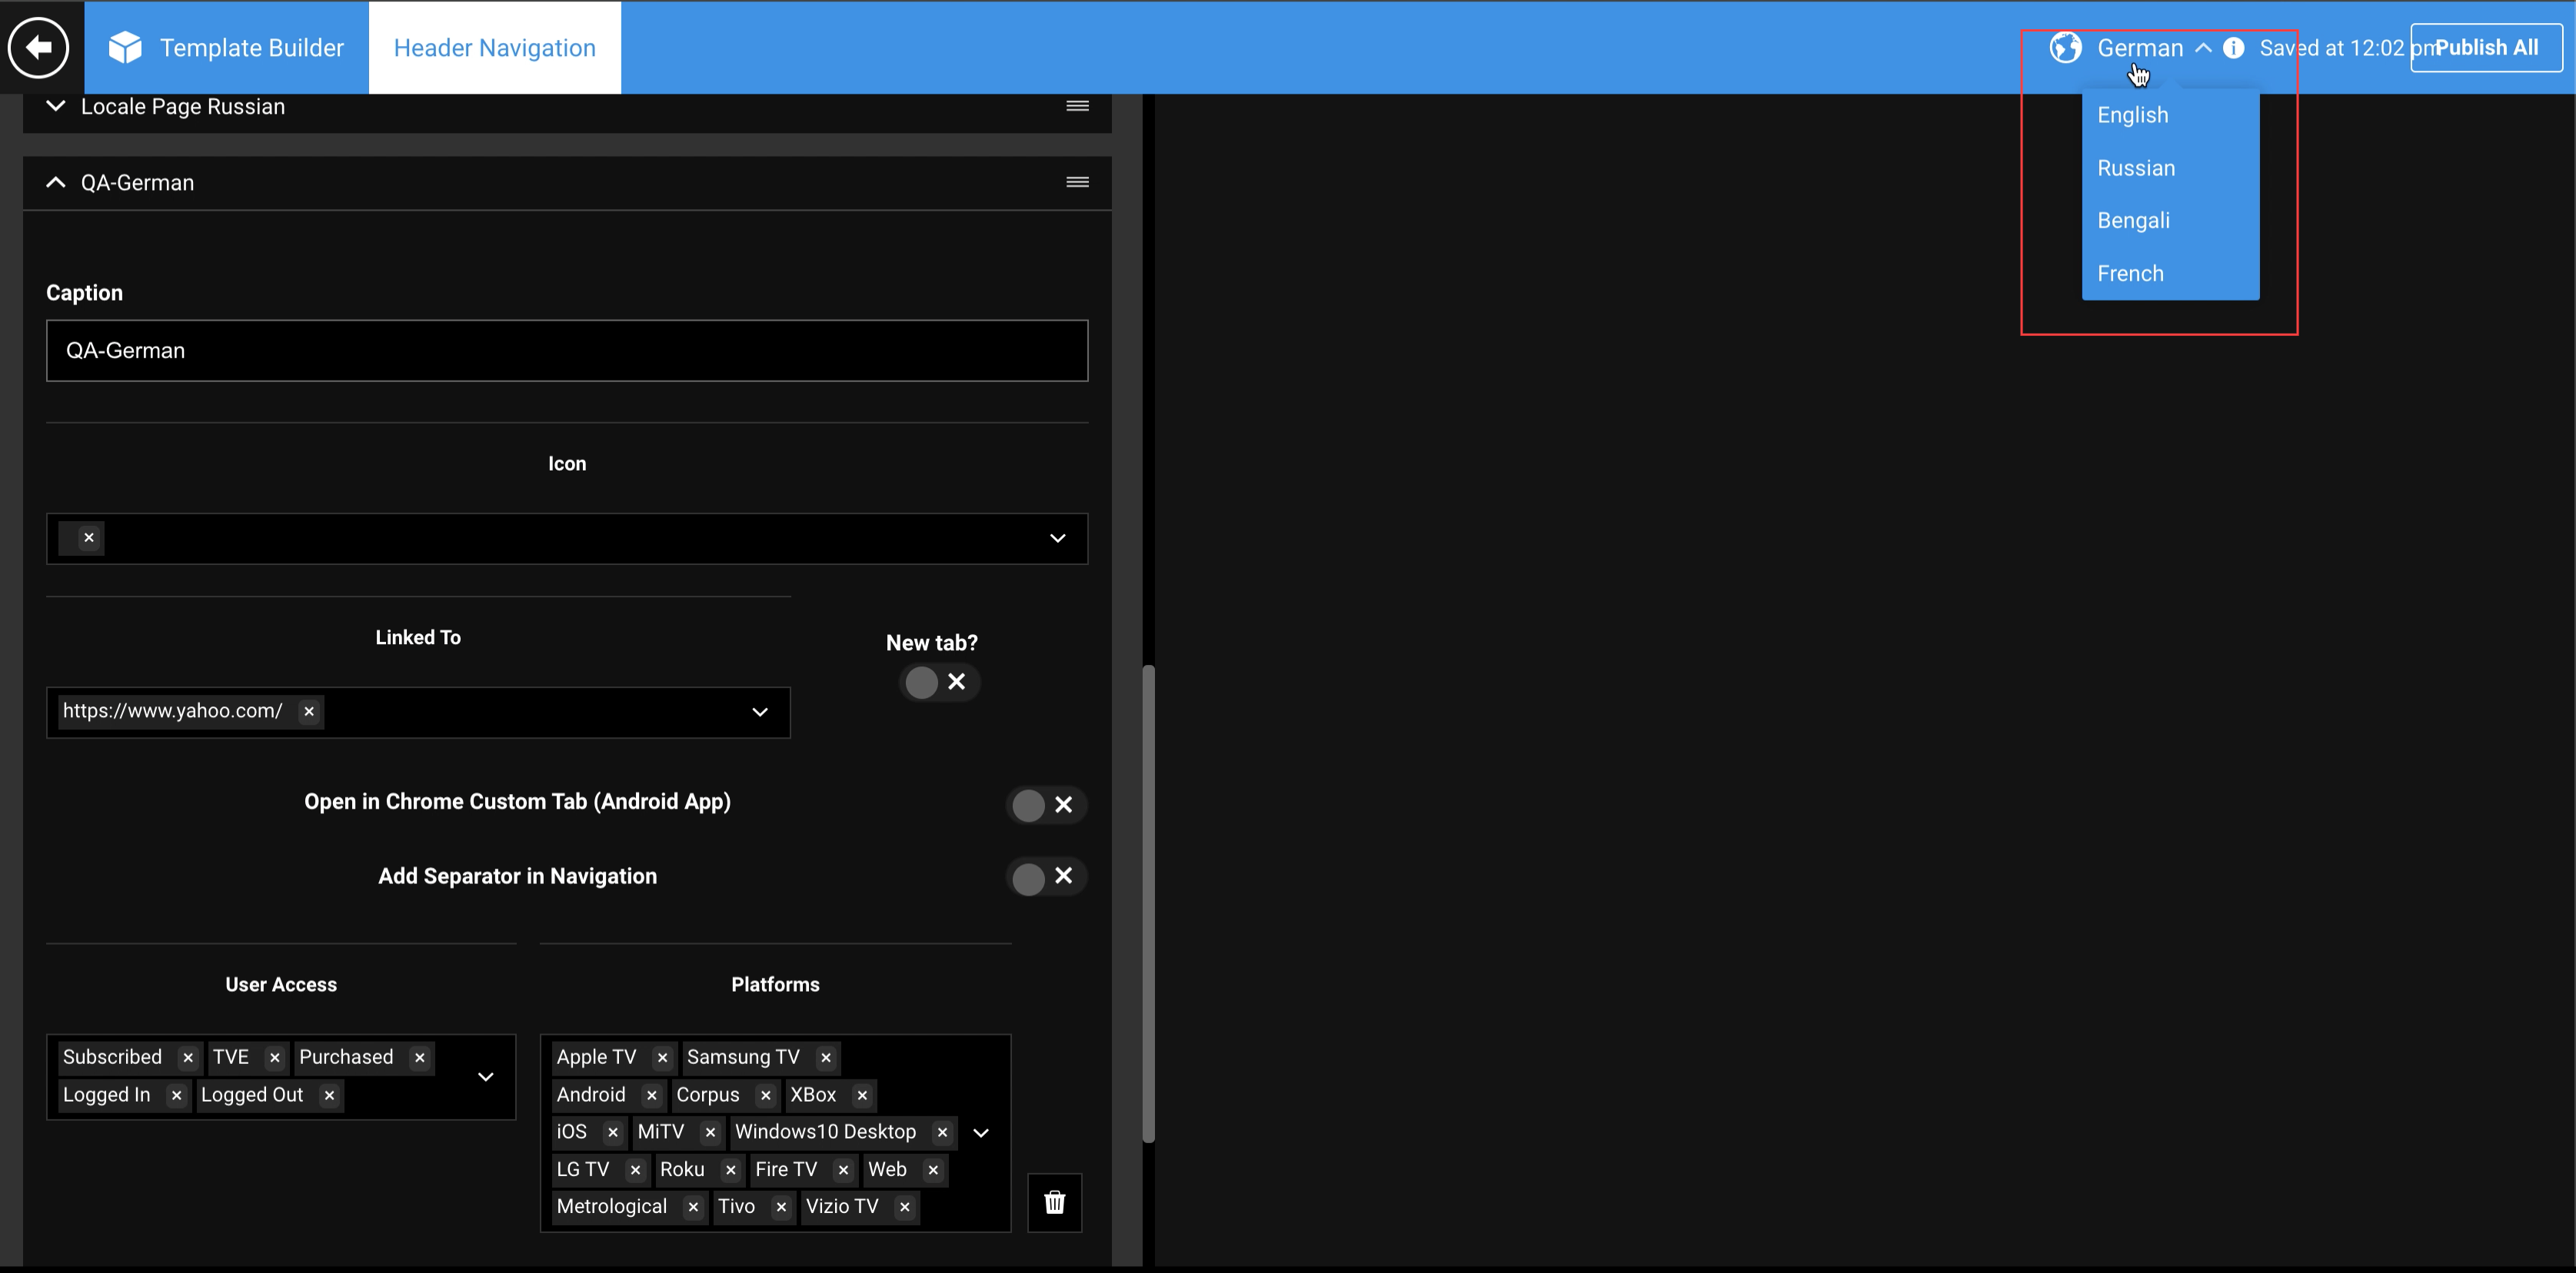
Language Selection
Enter URL
In the Linked to field under the selected language, enter the URL you want to link (e.g., https://mywebsite.com/home?lang=en for English).
Save Changes
After entering the URL, save your changes to update the header navigation.
Notes
Enable Locale Toggle: Ensure that the Enable Locale toggle is turned On before attempting to add URLs for multiple languages.
Multiple URLs: You can link only one page for multiple captions and languages.
Examples
Linking URLs for Different Languages
Caption | Language | URL |
|---|---|---|
Home | English | |
Home | Spanish | |
Home | Russian |
Frontend Steps
Accessing the Linked URL
Enter the Website: Open your web browser and enter the website name (e.g., https://mywebsite.com).
Select Language: On the website, select the desired language from the dropdown menu located at the top right corner of the page.
Click on Header Navigation Tab: Click on the tab in the header navigation that corresponds to the caption you set in the tool.
Redirect to Desired Landing Page: You will be redirected to the desired landing page that you linked in the backend using the tool.
Important Information
Validation: Double-check the URLs entered in the tool to ensure they are correct and lead to the appropriate pages.
Backup: Create a backup of your current settings before making any changes to the header navigation.
Enable Locale Toggle: Ensure the Enable Locale toggle is turned On before adding URLs for multiple languages.
URL Accuracy: Verify that each language-specific URL is accurate and properly formatted to avoid 404 errors.
User Permissions: Confirm you have the appropriate permissions to modify header navigation settings.
Testing: Test the navigation links thoroughly across all intended languages and on different devices and browsers.