Introduction
This guide provides step-by-step instructions to enable push notifications on your website using Firebase. Push notifications allow you to send updates and alerts directly to users, enhancing their experience and engagement with your site.
What is the Bell Icon?
The bell icon represents notifications. When users click this icon, they can allow your website to send them push notifications. This feature keeps users informed about important updates, news, or offers without needing to visit your site.
Prerequisites
A Firebase account
A web application or website that supports HTTPS
Steps to Enable Push Notifications
Step 1: Set Up Firebase
Create a Firebase Account
Visit the Firebase website and sign in using your Google account.
Create a New Project
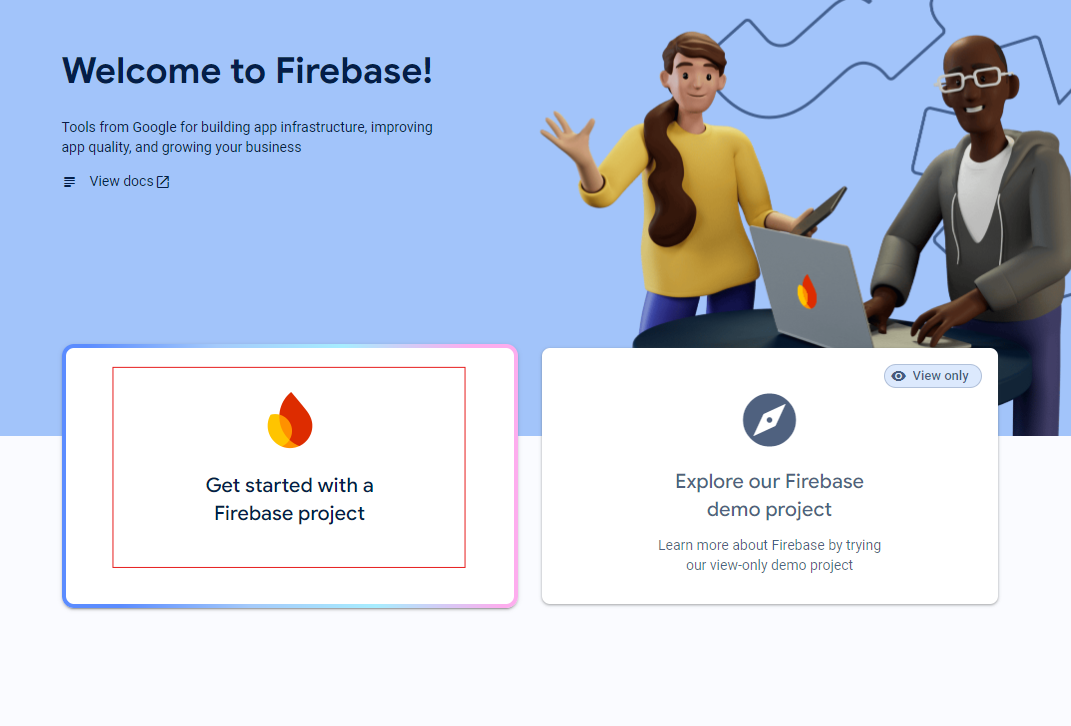
In the Firebase Console, click on Get Started and select Add Project to create a new project.
Enable Cloud Messaging
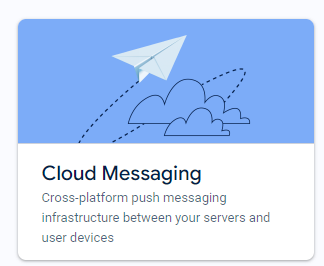
In your Firebase project dashboard, navigate to the Cloud Messaging section and enable it. This will allow you to send notifications to your users.
Get Your Configuration Details
Click on the settings icon in your project dashboard and go to Project settings.
Scroll down to the Your apps section and click on the web icon (</>) to register your app.
Add a nickname for your web app and follow the prompts to register it.
Copy the configuration code provided; you'll need it in the next step.
Step 2: Bell Icon Setup in Your CMS
Access Your CMS
Log in to your Content Management System (CMS).
Navigate to Template Builder
Locate the Template Builder section in your CMS dashboard.
Open the Schedule Tray
Access the Schedule Tray feature.
Select VL Schedule Tray
Open the VL Schedule Tray settings.
Adjust the Alert Settings
Find the toggle labeled Hide Set Alerts. Ensure this toggle is turned off to display the bell icon on your website.

Note: Keeping the toggle off will ensure that the bell icon is visible, allowing users to subscribe to notifications easily.
Make the Bell Icon
 Clickable
Ensure that clicking the bell icon triggers a request for notifications.
Step 3: Turn On Notifications
Go to My Account
Navigate to your account settings.
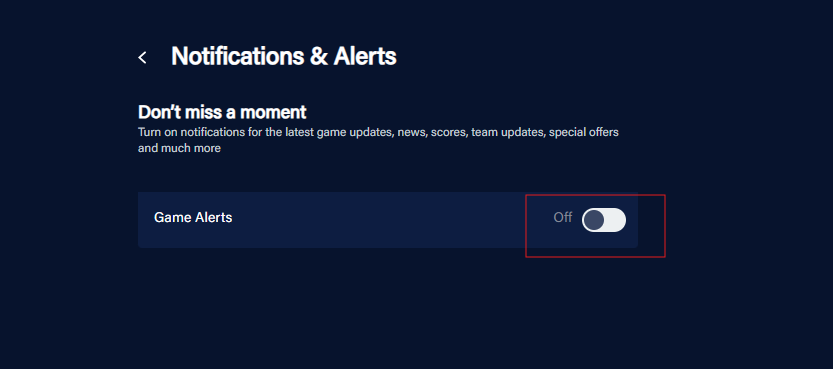
Click Notifications & Alerts.

Click Notifications & Alerts
This will redirect you to the Notification & Alerts page.
Enable Notifications
Turn on the toggle to enable notifications.
Step 4: Request Permission for Notifications
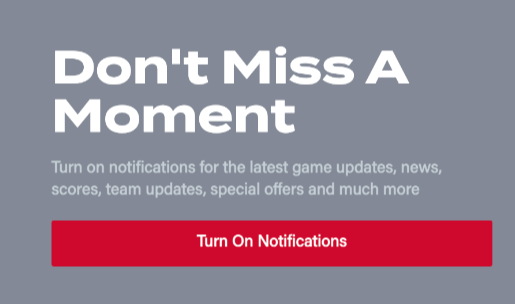
When Users Click the Bell Icon
A pop-up will appear asking users for permission to send notifications.

User Action
If users agree to receive notifications, they will be subscribed. If they decline, they will not receive notifications.
Step 5: Get the User Token
Use the Firebase SDK
In your website's code, import the Firebase SDK and initialize it with the configuration details.
Use the Firebase SDK to retrieve the user's token for push notifications.
Store the Token
Securely store the user's token on your server. This token is necessary to send push notifications to that specific user.
Step 6: Send Notifications from Your Server
Use the Firebase Admin SDK
In your server-side code, import the Firebase Admin SDK.
Initialize the Admin SDK with your Firebase project credentials.
Send Notifications
When you have an update or message, use the Admin SDK to send a push notification to the user's token.
Customize the notification content, including the title, body, and optional images or action buttons.
Step 7: Handle Notification Clicks
Open a URL on Click
Specify a URL to open in the user's browser when they click on a notification. This could be a specific page related to the notification content.
Important Information
Your website must support HTTPS to enable push notifications.
Users can revoke notification permissions at any time in their browser settings.
Regularly test your push notification implementation to ensure it functions as expected.
Frequently Asked Questions (FAQ)
Q1. Can I send notifications to specific users?
Ans: Yes, by using their unique tokens retrieved with the Firebase SDK. Store these tokens securely on your server for targeted notifications.
Q2. How do I customize the appearance of notifications?
Ans: You can customize various aspects of the notification, such as the title, body, icon, image, and action buttons, using the Firebase SDK.
Q3. Can I send notifications when my website is closed?
Ans: Yes, as long as the user has granted permission, push notifications can be sent and displayed even when the website is not open.
Q4. Is there a limit to how many notifications I can send?
Ans: Firebase Cloud Messaging has rate limits and quotas. Refer to the Firebase documentation for up-to-date information on these limits.
Troubleshooting
🔰 Verify that your Firebase configuration is correct and complete.
🔰 Check the browser console for errors related to the Firebase SDK.
🔰 Ensure you are using the correct user token when sending notifications.
🔰 Test notifications in both foreground and background states to confirm proper reception.
11. Contact Support
If you need further assistance or have any questions, our support team is here to help:
Contact Information
Email: techsupport@viewlift.com
Phone:
US: +1-800-859-0420
UK: +44-203-014-8921
Support Hours
B2C (Business to Consumer): Monday to Friday
B2B (Business to Business): 24/7 support available