Create a video object using S3 URL
- 14 Mar 2024
- 2 Minutes to read
- Contributors

- Print
- DarkLight
- PDF
Create a video object using S3 URL
- Updated on 14 Mar 2024
- 2 Minutes to read
- Contributors
- Print
- DarkLight
- PDF
Article summary
Did you find this summary helpful?
Thank you for your feedback
The advantage and use case for uploading to S3 is where source files are prohibitively large for browser upload.
Upload using an FTP tool
Prerequisite: You have access to your ViewLIft-S3 publish point.
Upload to your S3 bucket using any compatible file manager like Cyberduck, CloudBerry, or FileZilla.
Organize files in your S3 bucket
Our Support team will assist you with the initial setup:
- Create a directory in the following naming convention: s3://boost-example-tv/MezzFiles/2023/05/source_file_name.mp4. Replace '2024' with the current year and '06' with the current month.
- If your file extension is .mov, use .mov instead of .mp4. The full Amazon S3 URL will look like: https://s3.console.aws.amazon.com/s3/buckets/boost-client-bucket-name/MezzFiles/yyyy/mm/source_file_name.mp4"
- We recommend organizing your files within the Mezz folder based on the year and month.
- Now, upload the video to the S3 folder and copy the S3 URL of the file. The portion highlighted in red represents the S3 URL:

Also, create a separate folder to upload image thumbnails (videoImageUrl - API parameter). The folder should be public like this http://v-example-tv.viewlift.com/MezzFiles/images/2023/10/Video-Name-2024-03-22T18-00.png
Upload via S3 URL
After uploading your videos directly to your S3 storage, there are two options to pull them into the Tools CMS:
- Log into your Tools account.
- Click on CONTENT.
- Click on the + ADD VIDEO key. You are presented with two options:
- Using an MRSS Feed
You can provide a specific file format called an MRSS feed.
This feed can either:
- Automatically encode your videos during upload.
- Simply store them without encoding, placing them directly in the CMS. We can provide more details on this method if you're interested.
- Using S3 URLs
1. Copy the S3 URL for the uploaded file.
2. Click the Using S3 Url button.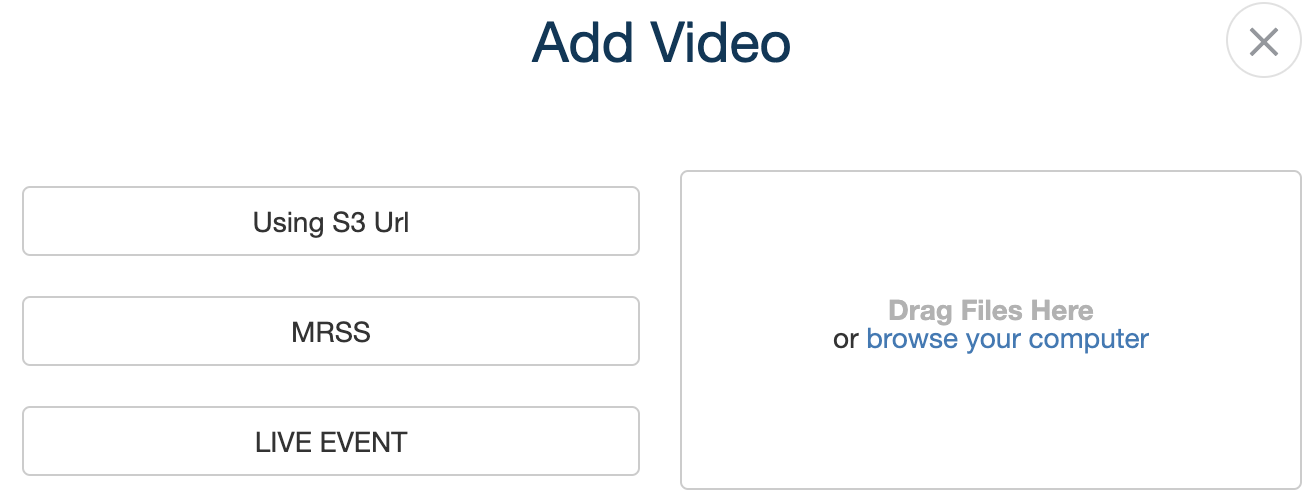

The dialog box will now show as follows.
To enable DRM on the asset, select the DRM enabled checkbox and select AXINOM as the DRM provider. Paste the S3 URL into the CMS and click OK. Make sure there are no white spaces after the file URL.

The Tools CMS will then automatically transcode the file (you can view the progress under the ENCODING TAB). Once successfully transcoded, you can publish the video object.
Review Renditions
You can check the output from the Renditions and Mezz area to see the output from the encoder. You can preview videos without publishing the content. Verify the renditions are created according to your encoding profile.
If you find any problem file, relaunch and replace a single rendition if necessary. To do this, click on the gear icon of a rendition and click Re-Encode Rendition. Remember: Each instance of re-encoding is billable.
To re-encode all files, click the RE-ENCODE ALL key at the top of the module.

Click the Edit Rendition button next to the desired version to edit and update the stream URL of the rendition in the Live/VOD/other types of content objects.

Publish the asset once you're happy with the encoded files and content metadata.
Notes
- Re-uploading a file creates a new asset ID, which can cause broken links in your site and apps. It is recommended to change back to the previous asset ID, but this cannot be done directly from the Tools UI. Contact our Support team if you need to re-upload video files in S3 and encode them again.
- An accidental press of the re-encode button can make content unavailable if the source file is not in S3. The re-encode button will be greyed out if the source file is not in S3.
- If you have unused contents and data in S3, consider and want to delete them from your database, please back up the data and contact us.
Related
Was this article helpful?